
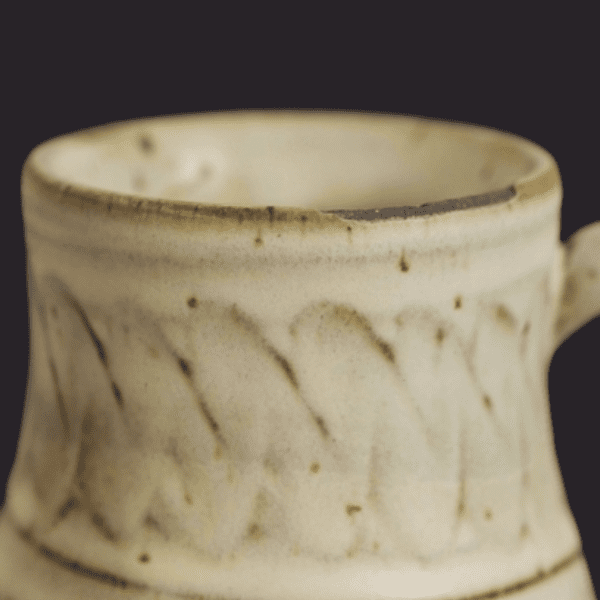
Test Tile with Glaze Applied

Charge with light source

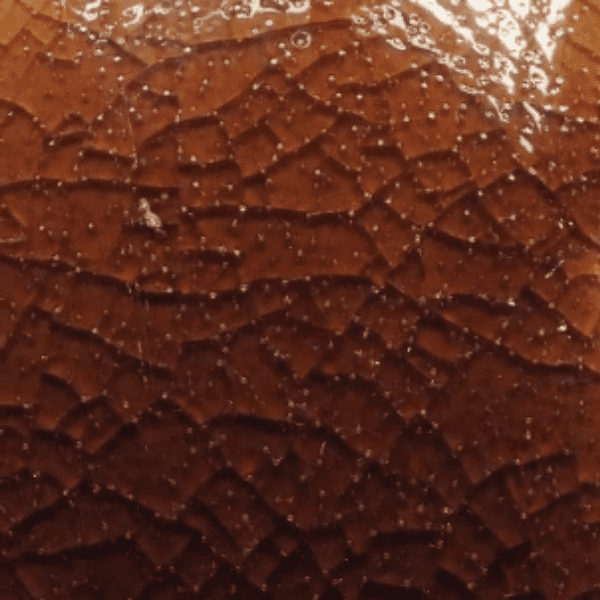
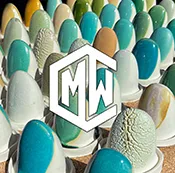
Final Result
Glow-in-the-Dark Pottery
Have you ever dreamed of creating pottery that glows in the dark? It’s not as magical as it sounds, but it’s definitely achievable with the right glaze recipe and firing technique. In this blog post, we’ll explore the science behind glow-in-the-dark glazes and what you can do to make your own.
Understanding Glow-in-the-Dark Materials
Before we dive into the how-to, let’s explore the fascinating science behind glow-in-the-dark materials. These materials, also known as photoluminescent materials, have a special ability: they can absorb light and then re-emit it over time, creating that mesmerizing glow.
➤The secret lies in phosphors, substances that can store energy from light and release it as visible light. When you expose a glow-in-the-dark material to light, the phosphors become energized. Then, in the dark, they gradually release that stored energy as light, creating the glow-in-the-dark effect.
Types of Glow-in-the-Dark Materials
There are three primary types of glow-in-the-dark materials:
- Chemiluminescent: These materials emit light through a chemical reaction, as seen in glow sticks.
- Radioluminescent: These materials use radioactive substances to produce light, which is highly dangerous and should be avoided.
- Photoluminescent: This is the type we’re interested in for ceramics. Photoluminescent materials absorb light and emit it back, often in a different color.
Creating a Glow-in-the-Dark Glaze
To create a glow-in-the-dark glaze, you’ll need to incorporate a photoluminescent pigment into your glaze formula. Common options include europium-doped strontium aluminate and zinc sulfide. However, zinc sulfide is typically not suitable for ceramic glazes due to its low firing temperature.
Key Considerations for Firing
Here’s where things get a bit tricky. Most glow-in-the-dark pigments can’t handle the high temperatures of traditional cone 6 (Our favorite cone 🙁 ) or cone 10 firings. To preserve the glow, you’ll need to fire your glaze at cone 08 or lower.
➤As Rose explains in the YouTube video, Glow Up | How to make a glow in the dark glaze, “If we fire it any hotter than that, we’re going to destroy the crystal structure of that colorant and it won’t glow anymore.”
Our Glow in the Dark Glaze Recipe
Here is our basic glaze recipe for a glow-in-the-dark glaze:
- 95% 3195 frit
- 5% kaolin
- 2% bentonite
- 10% glow-in-the-dark powder (europium-doped strontium aluminate)
Glaze Application and Firing
- Apply the glaze: Use a brush or dipping technique to apply the glaze to your pottery pieces.
- Dry: Allow the glaze to dry completely before firing.
- Fire: Fire the pottery in a kiln at cone 08. But… how do I get the best firing out of my new kiln?
Tips for Maximizing Glow
- Charge with light: Expose your finished pottery to bright light or a black light to fully charge the glow-in-the-dark pigment.
- Avoid direct sunlight: Prolonged exposure to direct sunlight can cause the glow to fade over time.
- Store in the dark: When not in use, store your pottery in a dark place to preserve the glow.
Important Notes
- Not for Functional Ware: Due to the low firing temperature, this glaze is best suited for decorative items. The clay body will be more porous and less durable than high-fired pottery.
- Safety First: Always handle ceramic materials with care and follow safety guidelines for kiln firing.
Creating glow-in-the-dark pottery is a unique and rewarding experience. By understanding the science behind photoluminescent materials and following the tips in this guide, you can add a touch of magic to your ceramic creations. So, go forth and experiment! Unleash your creativity and let your pottery illuminate the night.
Still Curious?
Check out or YouTube channel, specifically our video Glow Up | How to make a glow in the dark glaze
Ready to dive deeper?
Loved learning about ceramic glazes? Want to go even deeper? Check out our Workshops & Courses, now available in Spanish, or YouTube Channel where Matt breaks it all down, myth-busting and Stull chart included!


