Ceramic kilns are essential tools in the world of pottery and ceramics. These versatile machines are responsible for firing clay to create durable and beautiful ceramic pieces. However, to achieve consistent, high-quality results, ceramic kilns must undergo thorough testing and maintenance. In this blog article, we will explore the importance of ceramic kiln testing and the steps involved in this crucial process no matter what type of kiln you own.
Wait, wait wait – I’m just a beginner! Read CMW’s article: The Heat is On! A Beginners Guide to Glazing & Firing Pottery

Why Ceramic Kiln Testing Matters
Consistency and Quality: Ceramic artists and pottery enthusiasts rely on kilns to produce ceramics with consistent color, texture, and strength. Kiln testing ensures that the firing process remains consistent, resulting in high-quality pieces every time.
Safety: A well-maintained and regularly tested kiln is a safe kiln. Ensuring that electrical systems, ventilation, and temperature controls are functioning correctly is essential to prevent accidents and fires.
Energy Efficiency: Kiln testing helps identify and address any issues that might lead to energy waste. By improving the efficiency of the firing process, kiln testing can save both time and money.
Longevity: Proper maintenance and regular testing extend the lifespan of your kiln, preserving your investment and preventing costly replacements.
Steps in Ceramic Kiln Testing
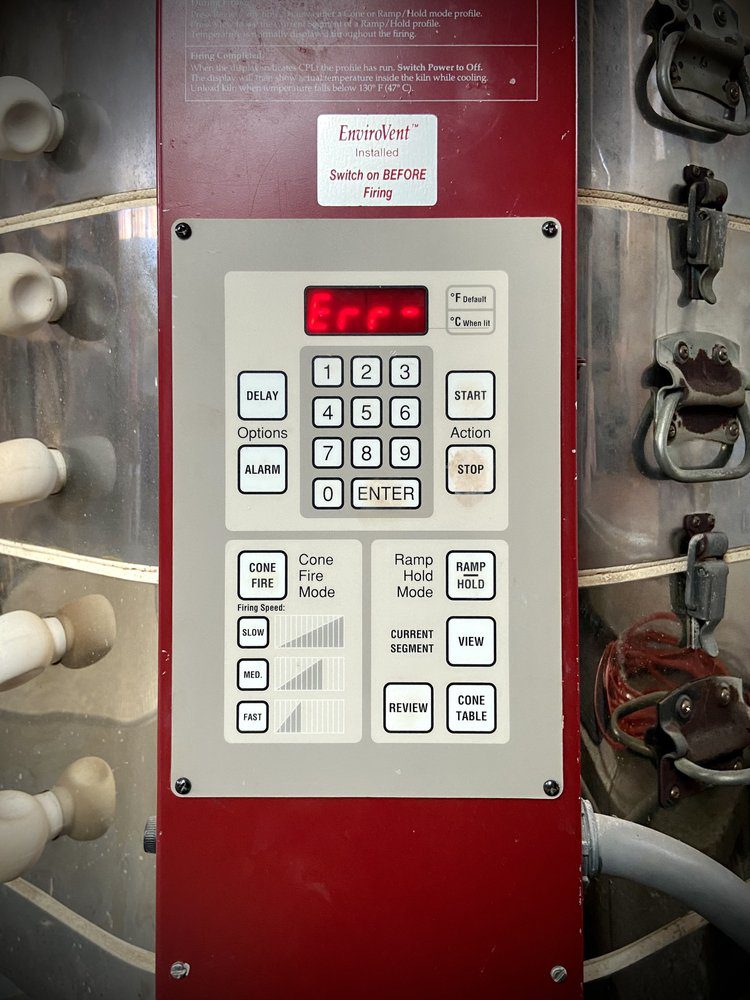
Visual Inspection: Begin by visually inspecting the kiln. Look for any signs of damage, such as cracks or wear and tear on the bricks or the heating elements. Inspect the wiring and connectors for any visible issues.
Electrical System Test: Test the electrical system to ensure it’s functioning correctly. This includes checking the wiring, switches, and fuses. Make sure the kiln is properly grounded to prevent electrical hazards.
Temperature Calibration: Accurate temperature control is essential for achieving desired firing results. To ensure this, use thermocouples (temperature recording devices) to compare the kiln’s actual temperature. We use TempChek made by Orton in multiple areas of the kiln to verify the peak temperature. Calibrate or adjust the controls as needed.
Safety Controls: Check safety controls such as the kiln’s emergency shutoff switch, which must be easily accessible and functional in case of an emergency.
Kiln Element Test: Kiln elements degrade over time, affecting firing consistency. Perform a visual and functional test on the elements. Replace any damaged or non-functional elements to ensure proper heating.
Kiln Lid and Seal Inspection: Examine the kiln’s lid and seal for a tight fit. A proper seal is crucial for efficient firing and preventing heat loss.
Kiln Furniture and Shelves: Ensure that kiln furniture and shelves are in good condition, as they support the ceramic pieces during firing. Cracked or damaged furniture can lead to disasters in your kiln. Check for any glaze that may have dripped on your furniture and remove it with a chisel or a grinder.
New Kiln Test Firing: Before placing any ceramics in your new or newly maintained kiln, conduct a calibration firing with cone packs to ensure even heating in your kiln. Adjust the zones if you have them to closely match each other using the Kiln offset. Check your kiln manual on how to adjust your offset. You want all your zones to be as close as possible in your firing to ensure even heatwork throughout the kiln.
In Review
Ceramic kiln testing and maintenance is a fundamental practice for any ceramic artist, whether you’re creating beautiful vases, intricate sculptures, or functional tableware. By investing time and effort into kiln testing and maintenance, you ensure that your kiln operates efficiently, produces high-quality results, and remains a safe and reliable tool in your artistic process.
And just remember what Rose always says to do and keep on “Test, Test, Test-Ing”!
Still Curious?
New kilns bring lots of excitement to the studio, but also a few questions. Should I calibrate my thermocouple? And, Do I need to adjust my firing rate to my new elements? This episode the gang talk about new kilns, ASTM standards for ware, and the difference between K23 and K26 soft bricks. They also start the show discussing testing methods for glaze durability.
Watch CMW’s podcast, For Flux Sake, Episode 91: How Can I get the best firing out of my new kiln?
Ready to dive deeper?
Loved learning about ceramic glazes? Want to go even deeper? Check out our Workshops & Courses, now available in Spanish, or YouTube Channel where Matt breaks it all down, myth-busting and Stull chart included!
")


