Hey fellow ceramic adventurers! Ever stared at a freshly bisqued piece and dreamed of transforming it into a dazzling, glazed masterpiece? You’re not alone! Glazing is where it all happens, and understanding the techniques is your secret weapon to creating pottery that pops! Let’s get those kilns fired up!
Let’s delve into the science behind the three major glaze application techniques: dipping, brushing, and spraying.
The Basics of Glaze Composition
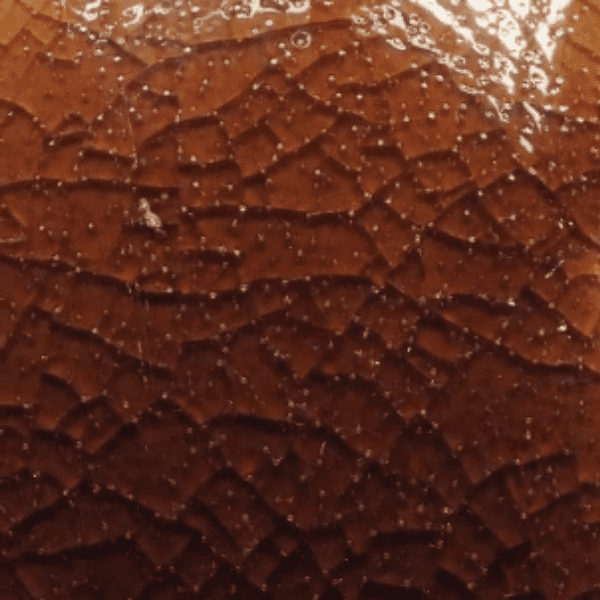
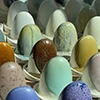
Before we jump into the how-to, let’s talk about the what. Glaze isn’t just a pretty coat; it’s a carefully crafted blend of minerals that fuses to your clay during firing, creating a stunning, glassy surface. (“But my glaze label says…” NO. Read this first!) Think of glaze as the ultimate makeover for your pottery! This transformation not only adds a burst of color and texture but also makes your pieces functional, sealing them with a non-porous finish perfect for everyday use.
Watch our YouTube video: FREE Lesson on Glaze Application
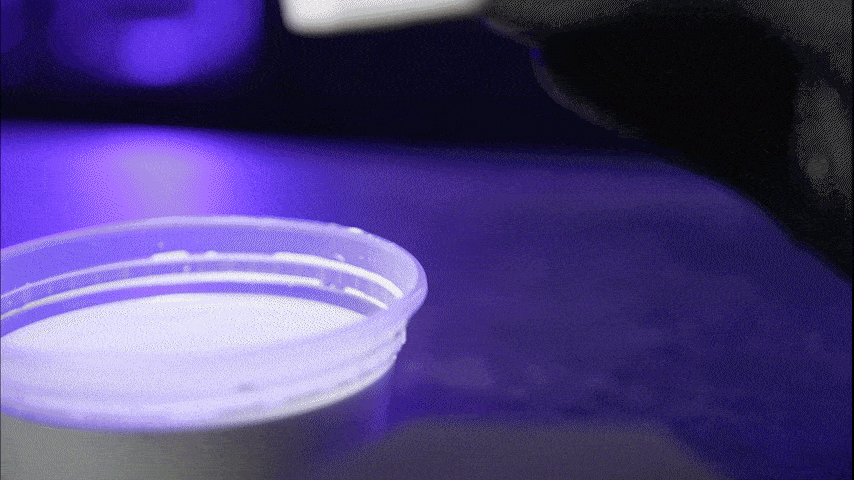
Dipping: Relying on Capillary Suction
Dipping is a common method where a piece of bisque-fired pottery is submerged into a bucket of glaze and then withdrawn. This method is highly dependent on a property known as capillary suction, which is the ability of the bisque ware to absorb water from the glaze mixture.
Here’s the Breakdown:
- The Porosity Power: Bisque ware, with its open pores, eagerly absorbs the water from the glaze mixture.
- Glaze Grab: As the water gets sucked in, the glaze particles cling to the surface, creating a uniform layer.
- Quick Dry Delight: Thanks to the bisque’s absorption, the glaze dries rapidly, leaving you with a ready-to-fire piece.
This method is efficient and ensures a uniform coat of glaze, but it requires the bisque ware to be of consistent porosity.
Variations in bisque firing temperatures can affect this porosity and, consequently, the glaze application.
For example, bisque ware fired at lower temperatures (e.g., cone 08) will absorb more glaze than bisque ware fired at higher temperatures (e.g., cone 04), leading to a thicker glaze application. But we are HUGE cone 6 fans here!
And don’t worry about making a mistake! Read our blog article Common Mistakes in Ceramics and How to Avoid Them OR listen to CMW’s podcast For Flux Sake Episode 58: Can a glaze flaw be aesthetically attractive?
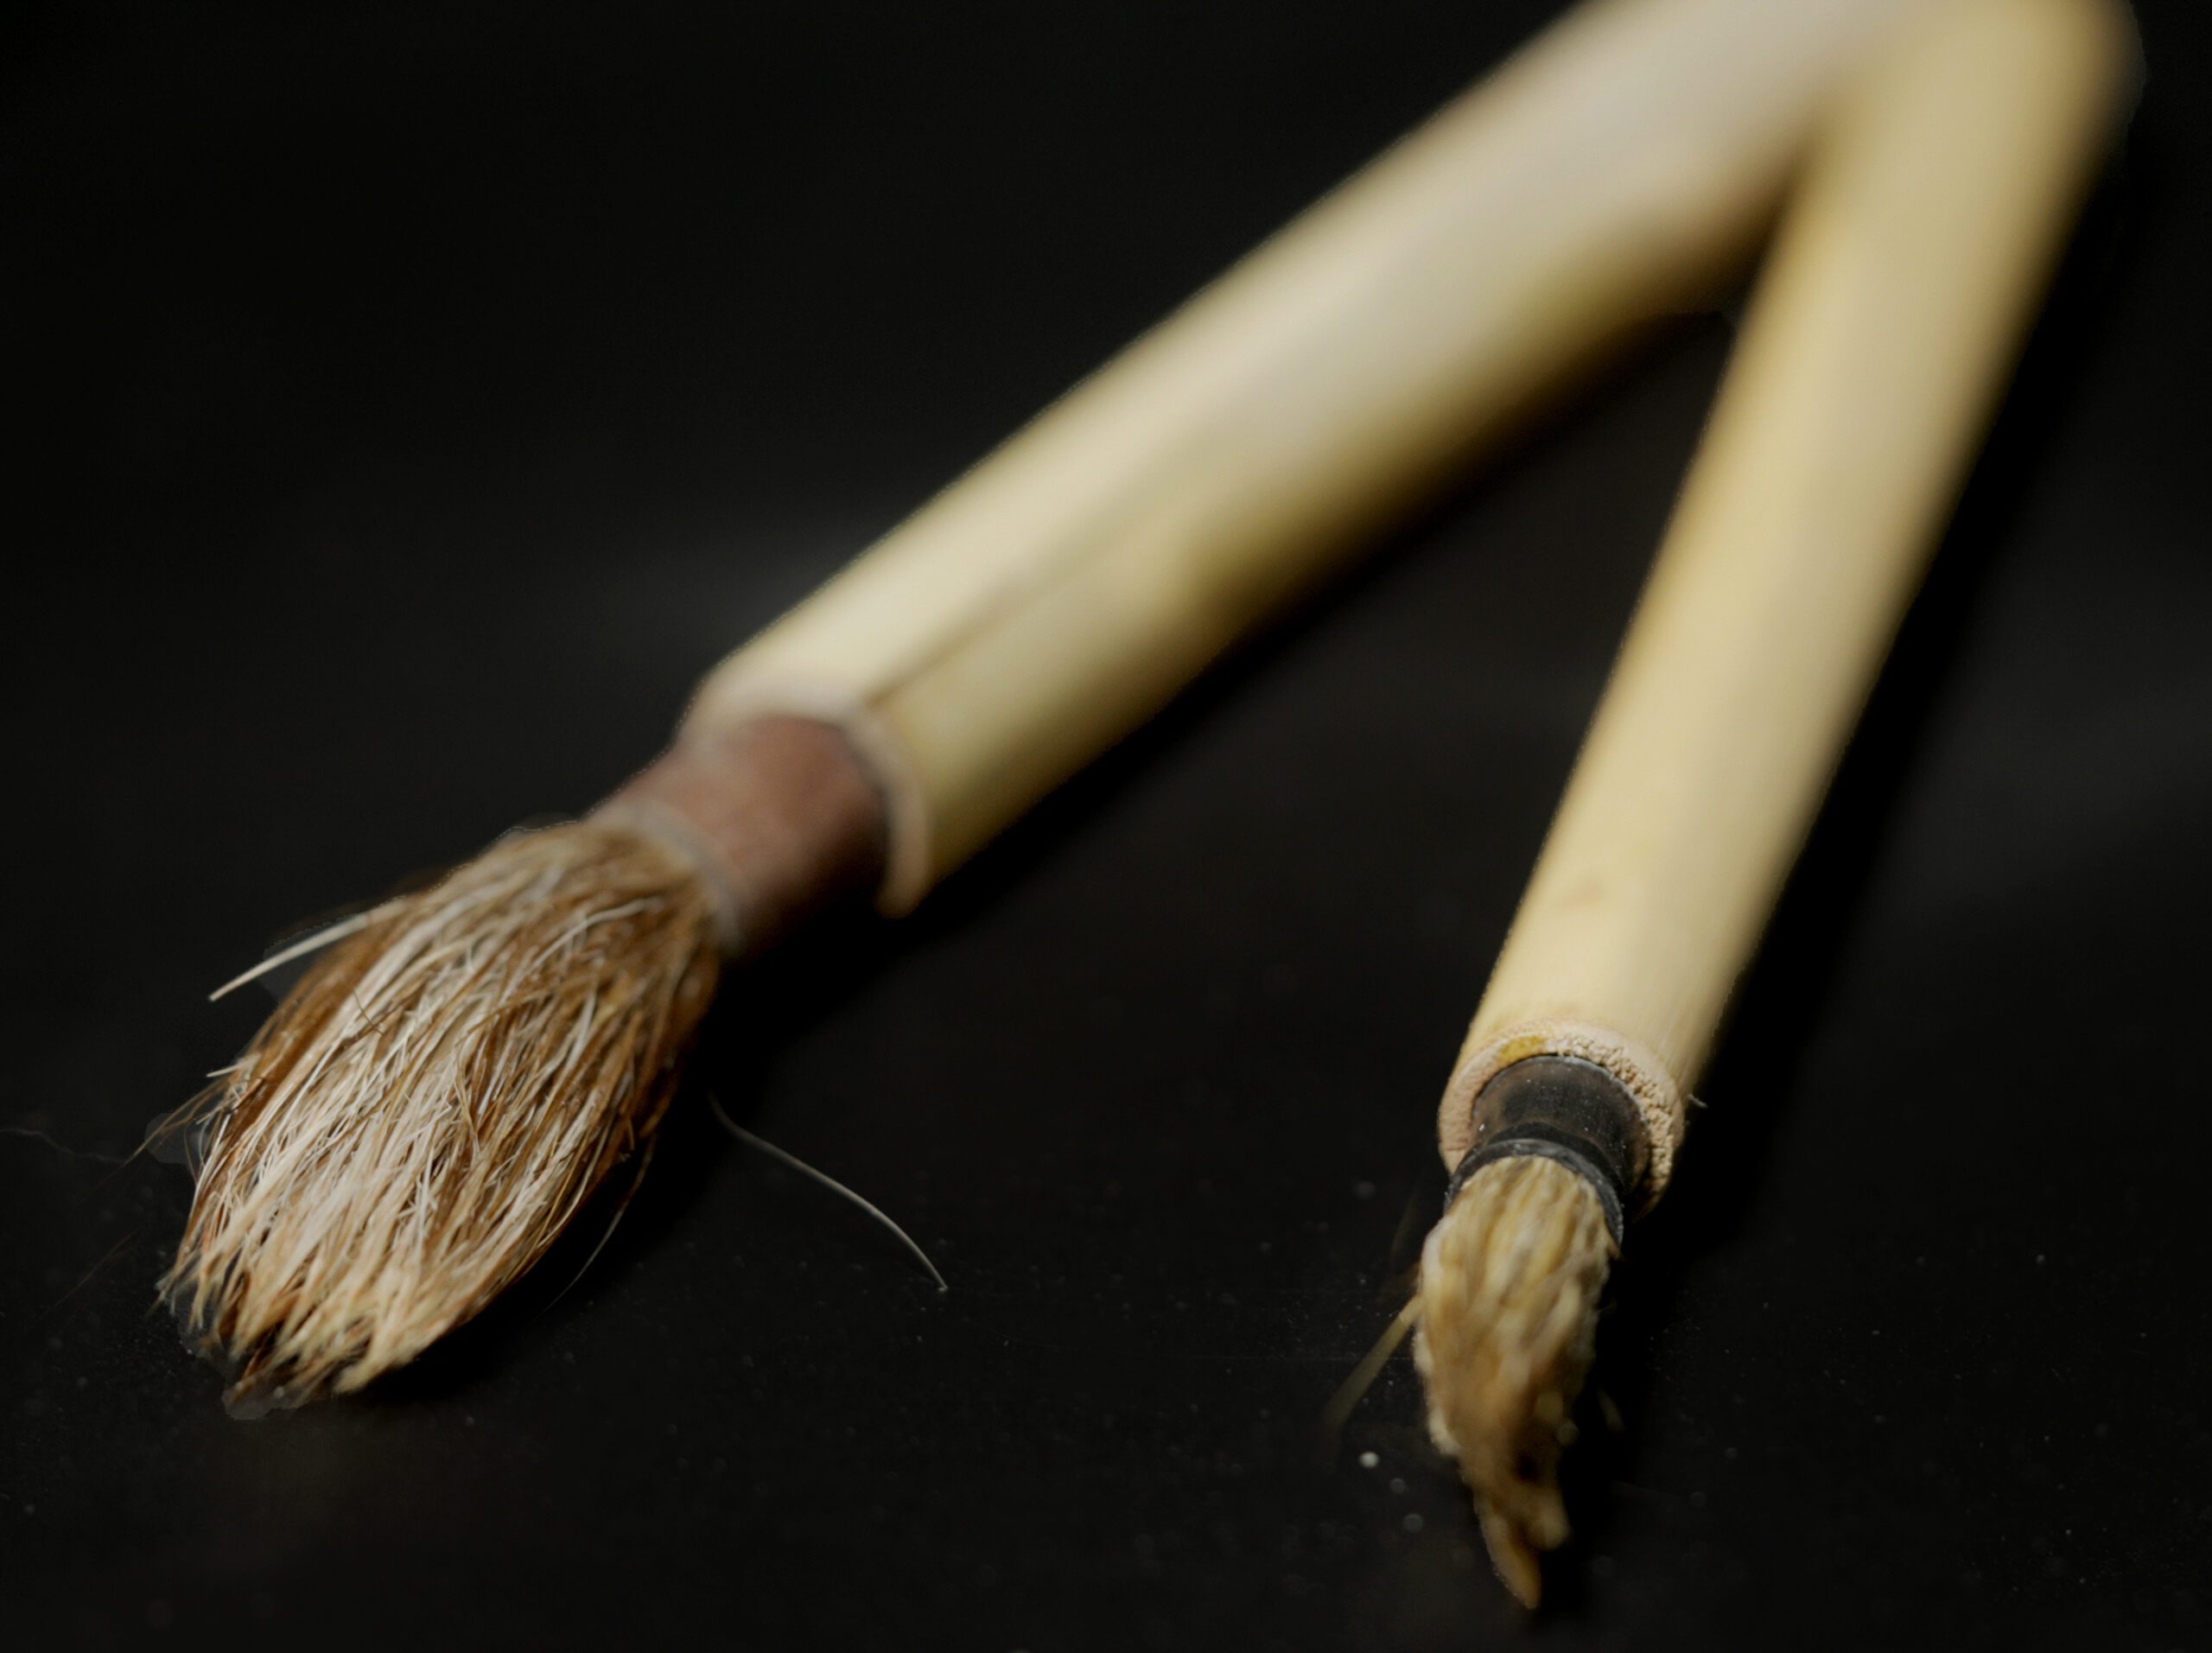
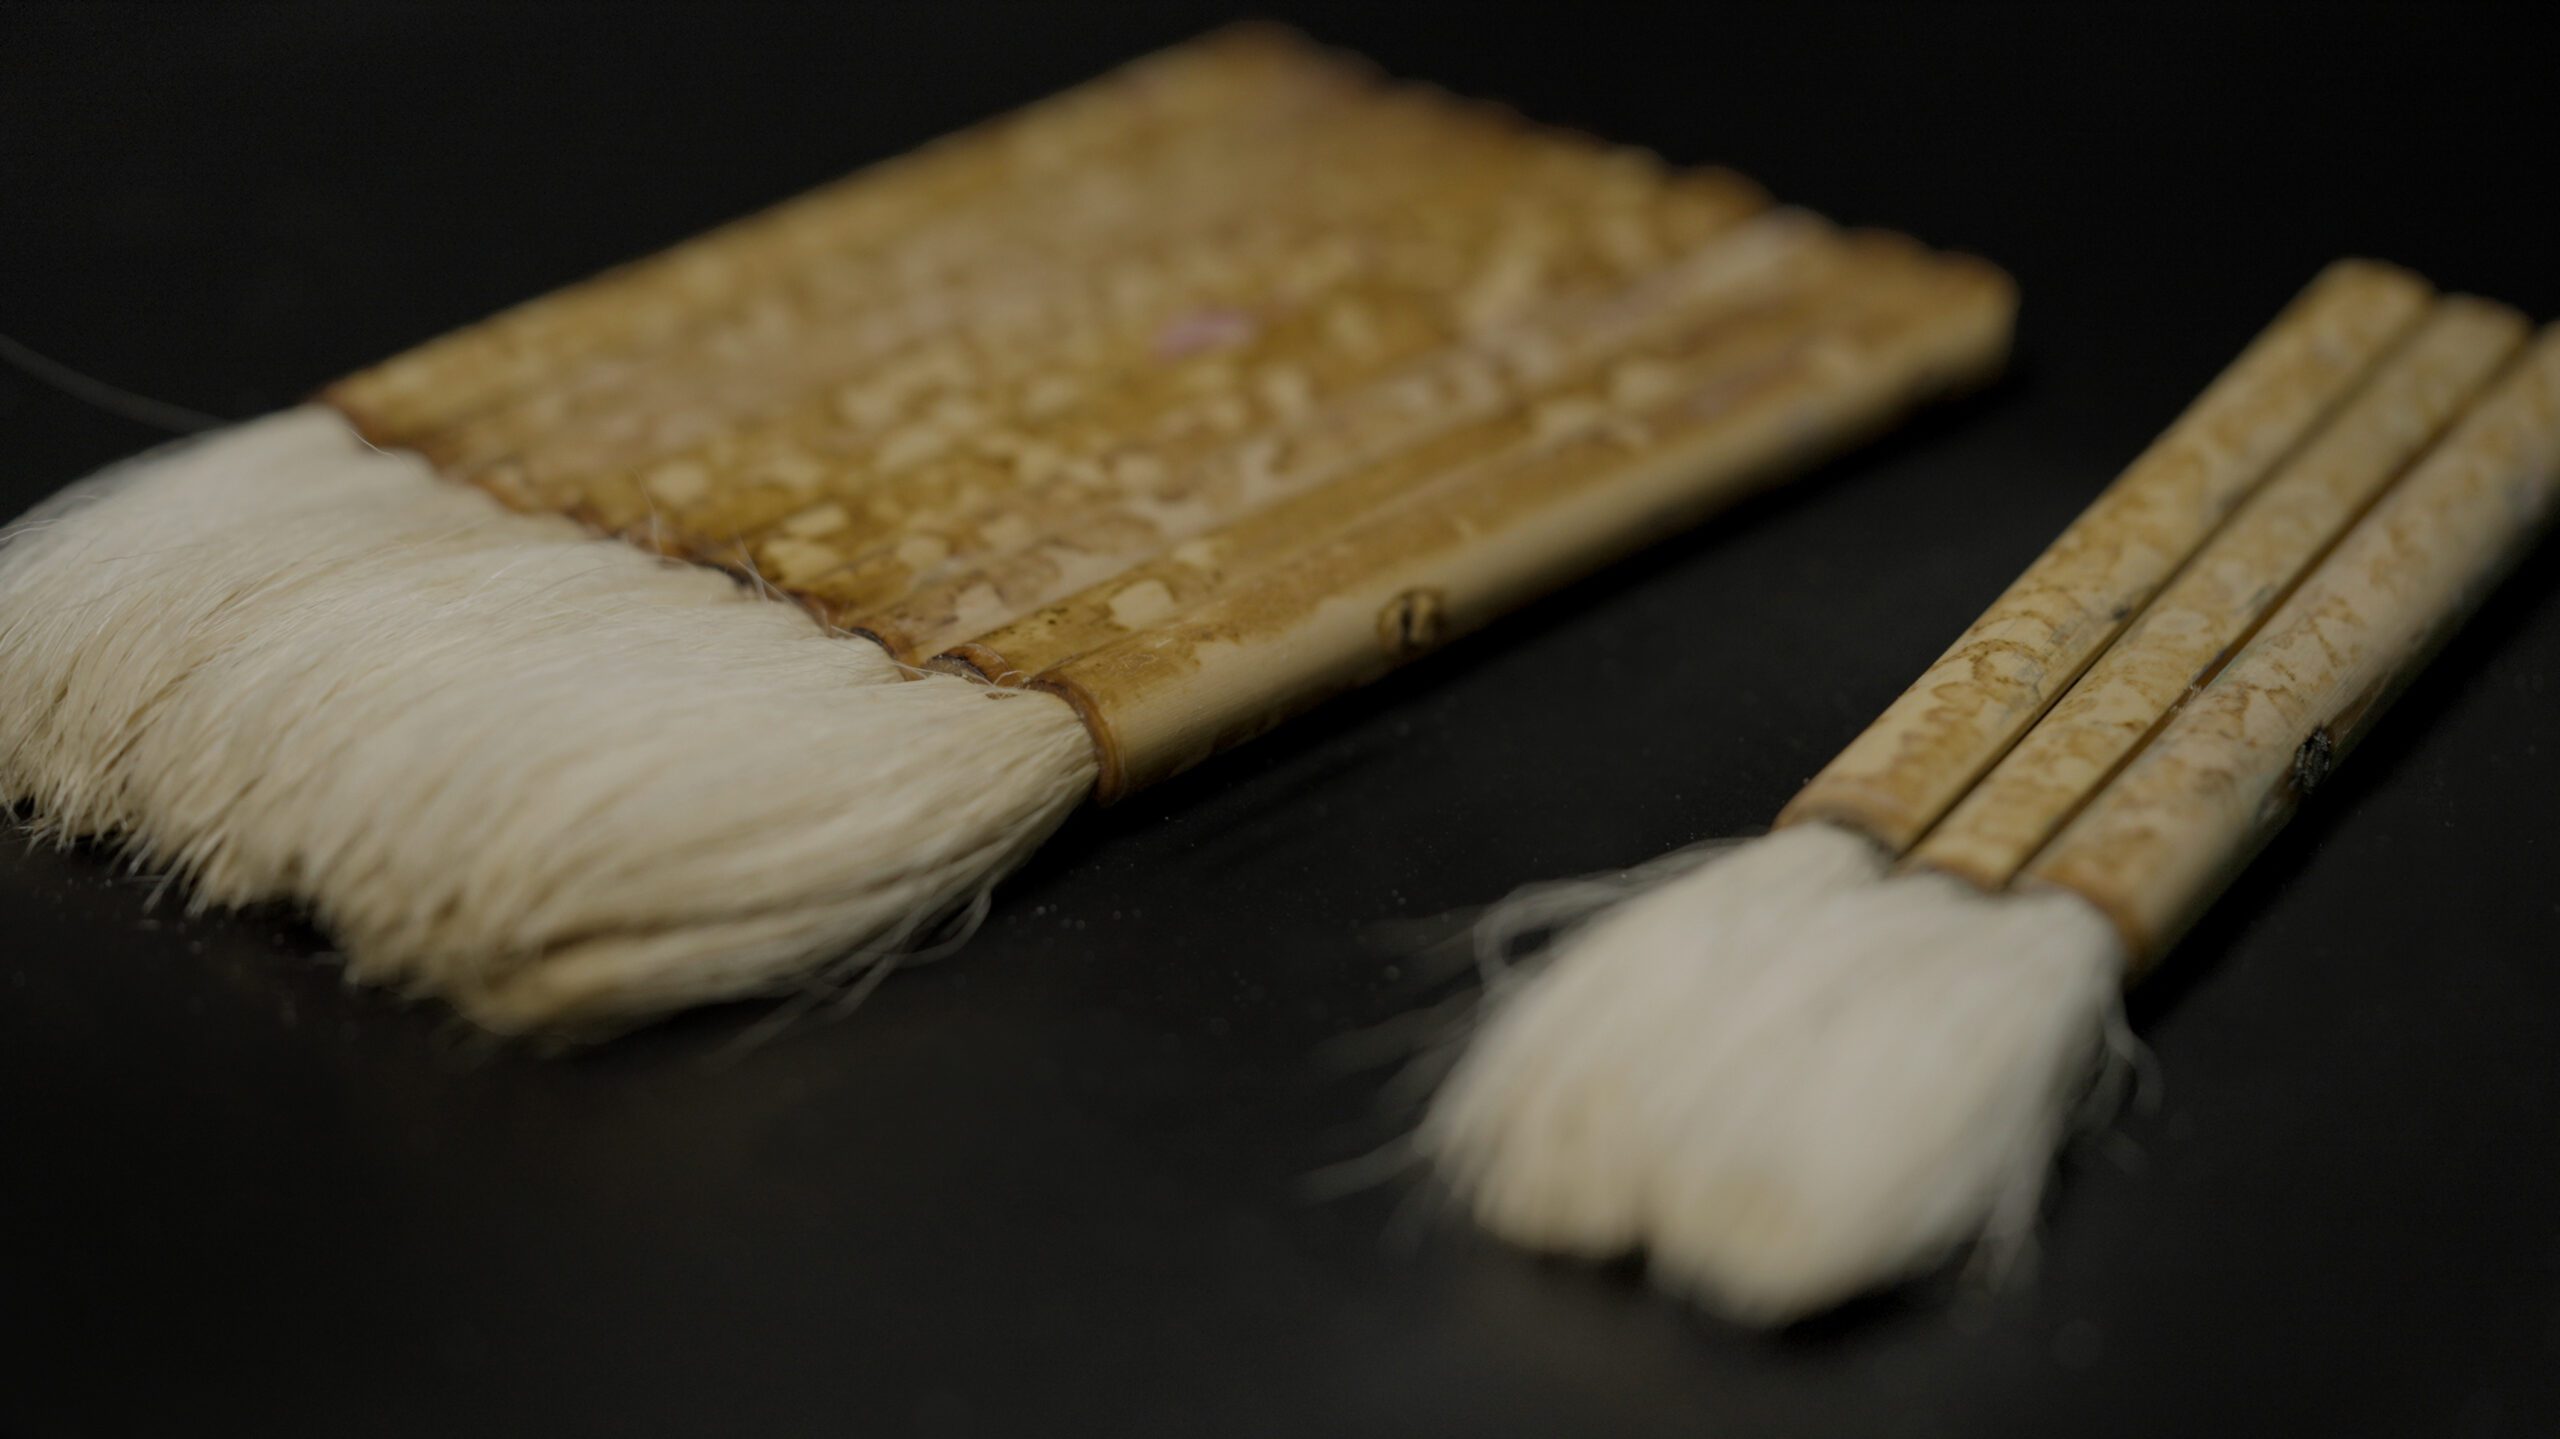
Brushing: Controlled and Versatile
Brushing is the go-to method for many beginners and those using commercial glazes. These glazes are often sold in pint jars and are formulated with additives that make them suitable for brushing.
The key differences in brushing glazes are:
- Suspension Agents: Keep the glaze particles evenly distributed in the liquid, preventing them from settling.
- Brushing Mediums: Slow down the absorption of water into the bisque ware, allowing for a smoother and more controllable application.
When brushing:
- The glaze is applied with a brush, often in multiple layers to build up the desired thickness.
- The additives help prevent the water from being quickly sucked into the bisque ware, unlike dipping glazes.
This method allows for more artistic control, enabling the creation of intricate designs and patterns. However, it requires a steady hand and patience to achieve an even coat.
Quick! What do I do if my glaze is hard panning? Listen to our For Flux Sake podcast: Episode 37
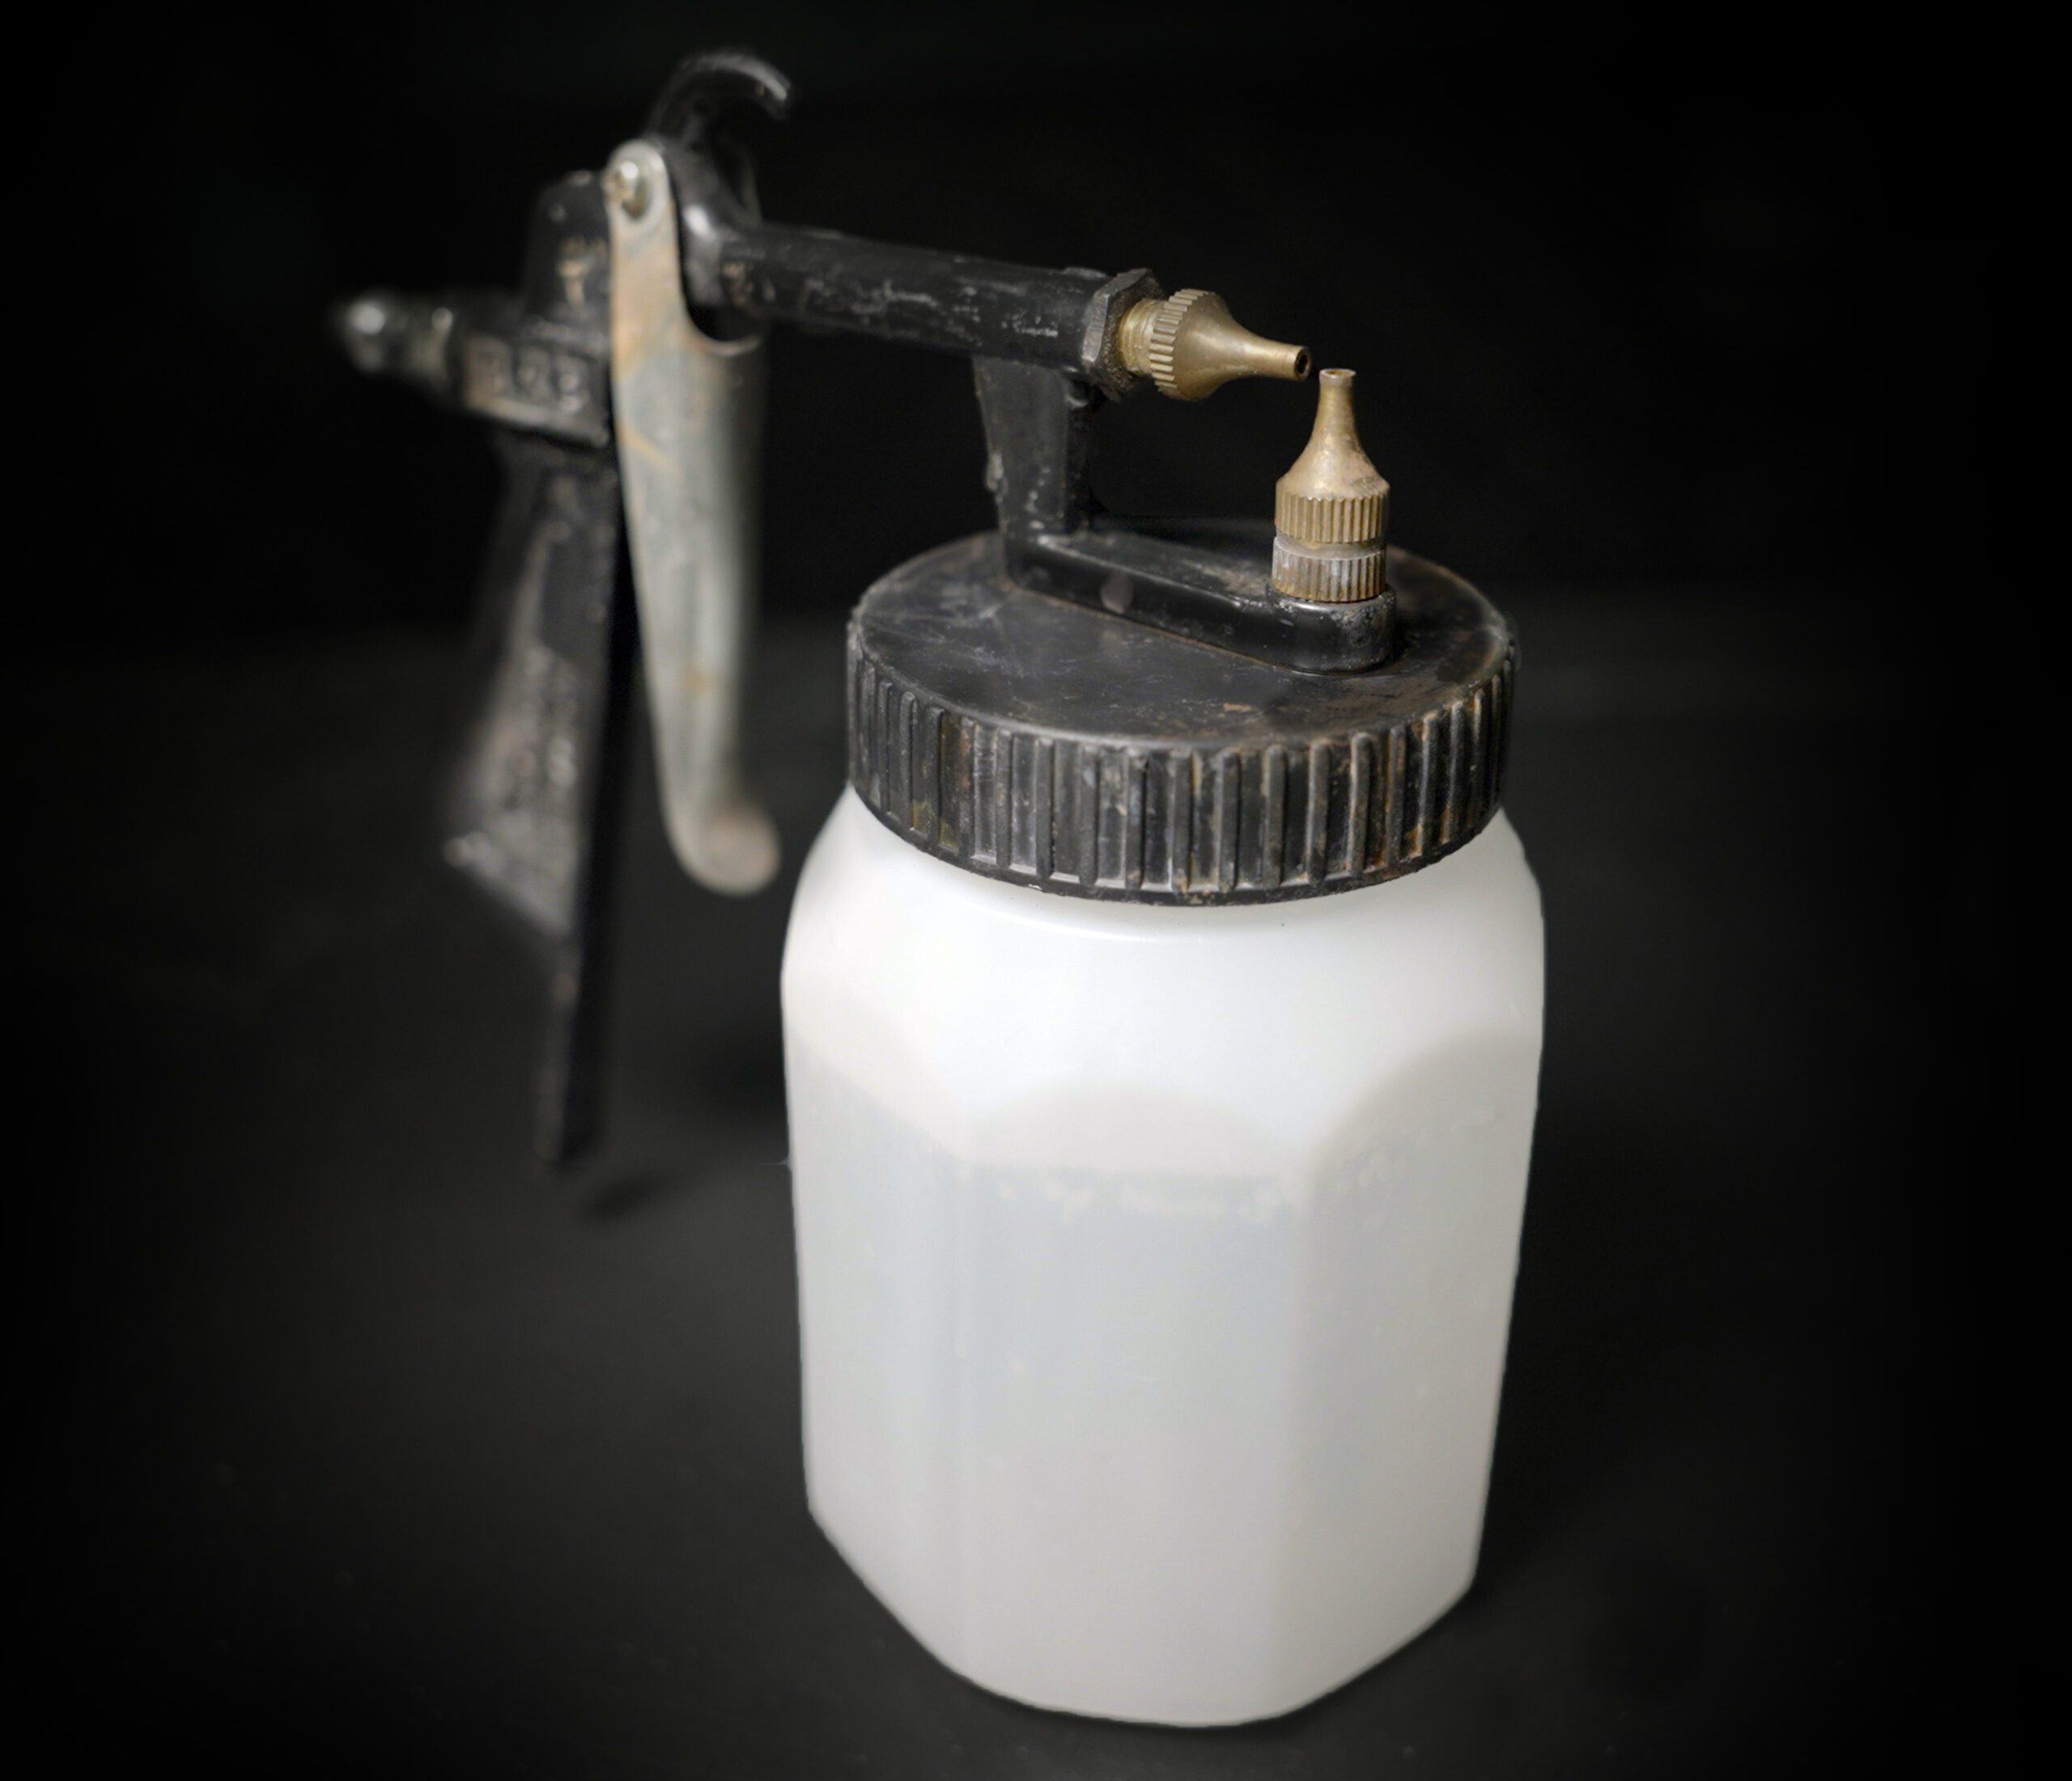
Spraying: Industrial Precision
Spraying is a technique often used in industrial settings but is also gaining popularity among studio potters for its ability to apply very thin, even coats of glaze.
The process involves:
- Atomization Action: A spray gun transforms liquid glaze into a fine mist of tiny particles.
- Even Distribution: The mist evenly coats the pottery surface, leaving a smooth, consistent finish.
- Thickness Control: Adjust spray time and distance to achieve your desired glaze thickness.
Spraying provides several advantages:
- Uniform Application: Achieves a very consistent and even glaze coat.
- Control Over Thickness: By adjusting the spray time and distance, potters can control the thickness of the glaze layer.
- Efficiency: Ideal for large volumes of work or pieces with intricate surfaces that are difficult to glaze by dipping or brushing.
Safety First! Always wear a respirator and work in a well-ventilated area when spraying glaze.
Still not getting the results you want even though you’ve tried every application method? It’s not you, it’s the water (and maybe a little bit you…)
Still Curious?
Understanding the science behind glaze application—whether through dipping, brushing, or spraying—empowers potters to choose the right method for their specific needs and desired outcomes.
Each technique has its unique benefits and challenges, but with practice and attention to detail, potters can achieve beautiful, consistent results. Experiment with different methods and find what works best for your artistic vision and studio setup. Happy glazing!
Watch our YouTube video: FREE Lesson on Glaze Application
Nah, I’m ready for the next step? Watch our Youtube Video: Batch, please | How to mix and batch a ceramic glaze
Ready to dive deeper?
Loved learning about ceramic glazes? Want to go even deeper? Check out our Workshops & Courses, now available in Spanish, or YouTube Channel where Matt breaks it all down, myth-busting and Stull chart included!


