Creating a plaster slab is an essential step for potters who want to test their clay bodies. A plaster slab allows you to mix clay as a slip or slurry, ensuring the best possible mixing and a relatively quick drying process.

In this guide, we’ll walk you through a straightforward method for making a plaster slab using tools you probably already have in your studio.
Curious why clay body profiling should be important to you? Read more here!
Materials Needed
- Plastic Tub: Shallow plastic tubs work best as they provide a good form and don’t require reinforcements or have gaps that could leak.
- Large Bucket: For mixing plaster.
- Bucket for Cleaning: Dedicated bucket for washing up plaster.
- Scale: To weigh plaster and water.
- Scraper: For smoothing out surfaces.
- Metal Rib: Used to shape the plaster.
- Scotch-Brite Pads: For cleaning up edges and details.
- Fan: To dry the plaster.
- Dust Mask and Gloves: For safety.
Optional Tools
- Quart Containers: Useful for moving plaster around.
- Drill with Mixing Blade: For mixing plaster (ensure it’s dedicated to plaster only).
- Towel: For the demolding process.
Curious about the chemistry of clay bodies in firing? FREE sample lesson: Introduction to Clay Bodies
Step-by-Step Instructions
Prepare Your Tools: Ensure all tools are dedicated to plaster to avoid contamination. Plaster in clay bodies and glazes can cause issues.
Mixing the Plaster:
-
- Weigh the Water: Start by taring your rubber bucket on the scale to zero out its weight. Weigh out 7938 grams of tap water (room temperature or cold).
- Weigh the Plaster: You’ll need 11,342 grams of plaster. Weigh it out in segments if necessary.
- Combine: Slowly sprinkle the plaster over the water, ensuring even distribution to hydrate the plaster. Let it sit undisturbed for 3-5 minutes.
- Mix: Use a drill with a mixing blade at a low speed to avoid air bubbles or mix by hand with a thorough, gentle motion. Mix for about 2-3 minutes.
But… Is it okay to recycle my throwing clay and use it as a casting slip? Find out more in CMW’s podcast For Flux Sake Episode 34
Pouring the Plaster:
-
- Carefully pour the mixed plaster into your plastic tub. Pour slowly to minimize bubbles.
- Give the tub a shake and tap the sides to bring air bubbles to the surface.
- Use a scraper to level the surface and remove bubbles.
Drying:
-
-
- Let the plaster sit for 30 minutes to an hour. It will get warm as it sets and should cool down when ready.
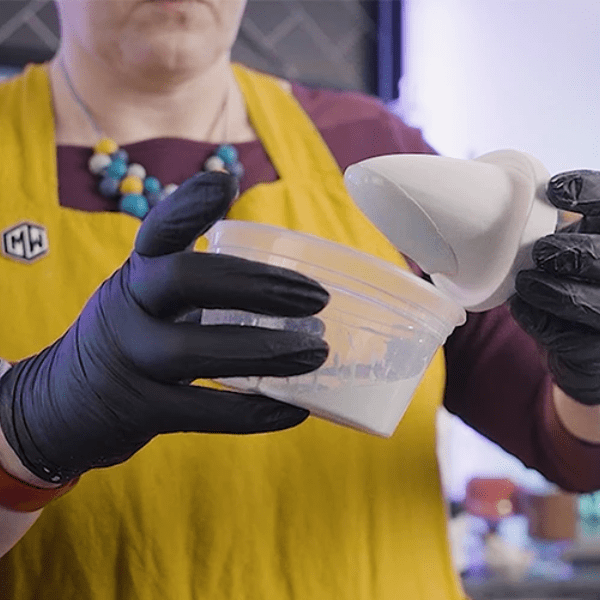
- Demold the slab by flipping the tub over onto a towel. If it sticks, gently pound the bottom until it releases.
- Smooth the edges with a metal rib and Scotch-Brite pad to avoid sharp edges that could chip.
-
Final Drying:
-
- Allow the plaster slab to dry completely for 3-4 days. Place it in front of a fan and flip it every 12 hours to ensure even drying. The slab is ready when it feels room temperature all over.
Safety Tips
- Always wear a dust mask to avoid inhaling plaster particles.
- Use gloves to prevent the plaster from drying out your skin.
Next Step: How to Find Your Clay’s Absorption Rate
Making a plaster slab is straightforward and requires only a few tools. With your new plaster slab, you can efficiently test various clay bodies, ensuring they meet your standards before use.
With this knowledge and testing, you can make informed choices to make your studio and work the best that it can be.
Need more?
Watch our YouTube video: How to make a plaster slab for clay body testing to follow along while you make yours!
Ready to dive deeper?
Loved learning about ceramic glazes? Want to go even deeper? Check out our Workshops & Courses, now available in Spanish, or YouTube Channel where Matt breaks it all down, myth-busting and Stull chart included!


