But before you crank up the heat, let’s get a handle on the basics.

Glaze: The Science Makeup for Your Pots
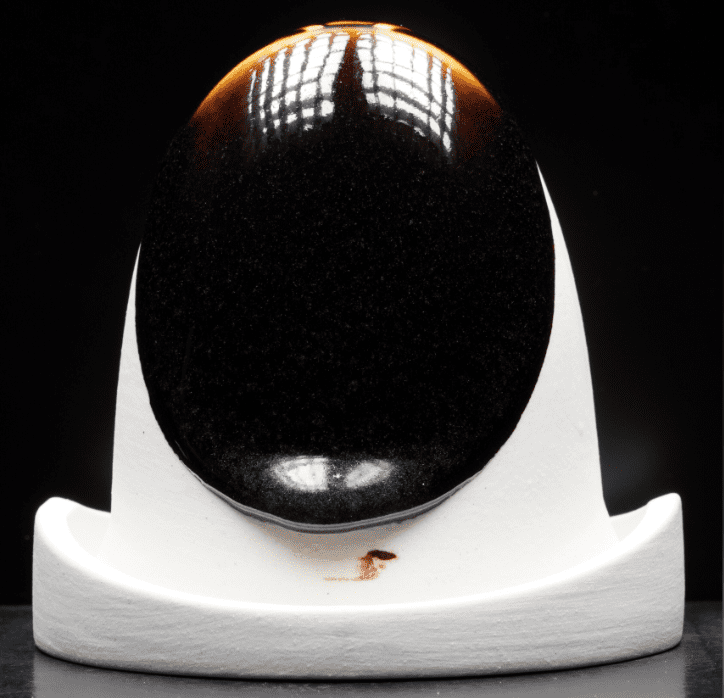
Imagine glaze as the makeup for your pottery. It’s that glassy coating that adds color, shine, and even texture to your pieces. But how does it work?
Glaze is essentially a special kind of glass that’s designed to melt onto your pottery in the kiln. It’s made from a combination of ingredients:
- Silica: This is the glass former, the main ingredient that gives glaze its glassy quality.
- Alumina: This acts as a stabilizer, preventing the glaze from running off your pot during firing.
- Fluxes: These help the glaze melt at the right temperature.
- Colorants: These are the fun part! They add those beautiful colors and patterns to your glaze.
The Two-Step Firing Process: Bisque and Glaze
Firing pottery is like baking a cake – it needs to be done in stages. In ceramics, we have two main firings:
- Bisque Firing: This is the first firing, and it’s like pre-baking your cake. It hardens the clay, making it strong enough to handle and glaze. But importantly, it keeps the clay porous, so the glaze can soak in and adhere properly. You’ll need to check a bisque temperature chart to ensure the correct kiln temperature.
- Glaze Firing: This is the second firing, where the real science happens. The kiln heats up to a higher temperature, causing the glaze to melt and form a glassy surface on your pottery. This is where you might encounter glaze problems like glaze crawling, glaze shivering, or pinholing, so it’s important to understand glaze chemistry.
Kilns: The Ovens of the Ceramics World
A kiln is essentially an insulated oven designed specifically for firing ceramics. They come in different sizes and styles, and can be powered by electricity, gas, or even wood. Kilns can reach incredibly high temperatures, so safety is always a priority! You can find information about different kiln cones and their corresponding temperatures on a kiln cone chart. (Curious about electric kilns click here…)
Firing Temperatures: Matching Clay and Glaze
How do you know what temperature to fire your pottery to? It’s all about the “cone” rating. Both clay and glazes have a cone number that indicates the temperature at which they mature. For example, a cone 6 clay should be fired to cone 6, and you should use a cone 6 glaze with it. Matching the cones ensures that your clay and glaze mature properly, resulting in a beautiful and durable finished piece.
How can I get the best firing out of my new kiln?
New kilns bring lots of excitement to the studio, but also a few questions. Should I calibrate my thermocouple? And, Do I need to adjust my firing rate to my new elements? This episode the gang talk about new kilns, ASTM standards for ware, and the difference between K23 and K26 soft bricks. They also start the show discussing testing methods for glaze durability.
Bonus Tip: Always test your glazes on a small piece of clay (a test tile) before glazing your entire masterpiece. This helps you see how the glaze will look after firing and avoid any surprises.
With a good understanding of glazing and firing, you’re ready to take your pottery to the next level! So, choose your glazes, fire up that kiln, and watch your creations transform into works of art.
Ready to dive deeper?
Loved learning about ceramic glazes? Want to go even deeper? Check out our Workshops & Courses, now available in Spanish, or YouTube Channel where Matt breaks it all down, myth-busting and Stull chart included!

