Ever peered at those confusing columns on a cone chart, the ones with different firing temperatures for the same cone number, and wondered what it all means?
You’re not alone! Those columns hold the key to understanding the delicate dance between firing techniques and the chemical reactions that make our pottery magic happen. Let’s break it down and unlock the secrets of those enigmatic numbers!
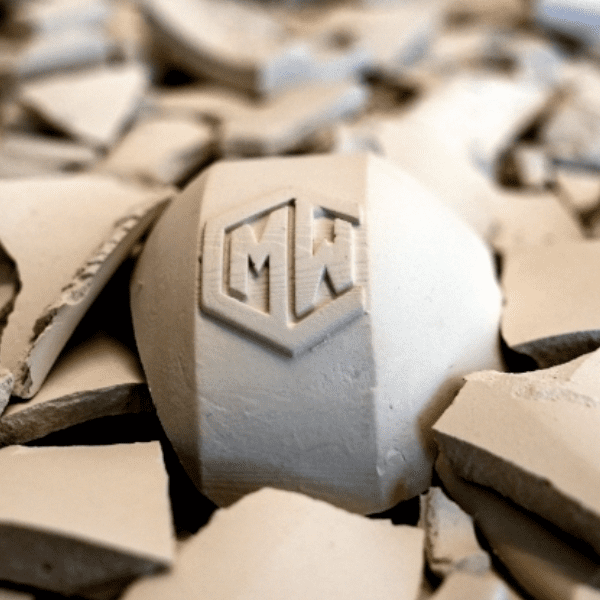
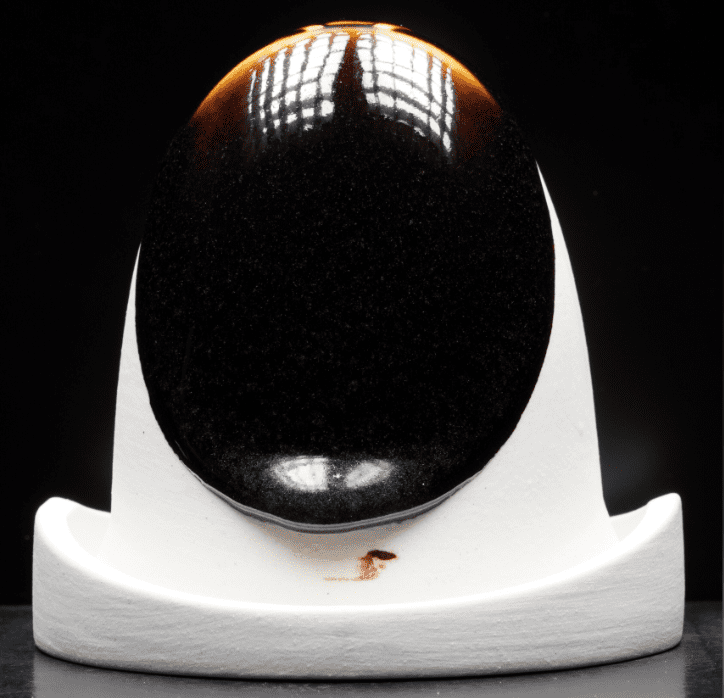
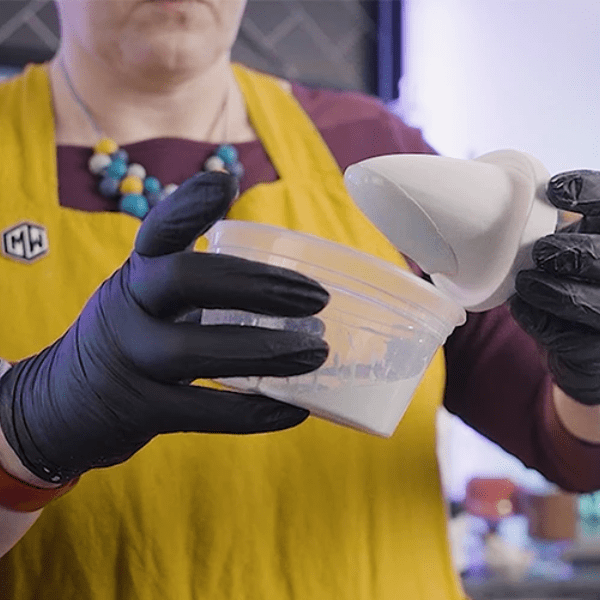
Watch CMW’s YouTube, Cone-ception | using a pyrometric cone to create a ceramic glaze
Firing Rates: A Balancing Act
Each column represents a different firing approach. Some are slow and steady, like a leisurely stroll through the kiln, while others are rapid-fire, like a race to the finish line. But why the different strategies?
The Asterisk: A Tiny Detail with a Big Impact
Here’s where things get interesting. See that little asterisk at the bottom of the columns? That’s the game-changer! It tells us that all the important chemical reactions happen in the last 180°F (100°C) of the firing.
Slow and Steady vs. Fast and Furious
-
Slow Firing (e.g., 15°C per hour):
- Gentle and methodical, but can be energy-intensive due to the long time spent at high temperatures.
-
Fast Firing (e.g., 60°C per hour):
- A balanced approach, reaching the target temperature quickly without compromising the materials.
-
Ultra-Fast Firing (e.g., 100°C or 50°C per hour):
- Might seem energy-efficient, but can disrupt the firing process and potentially ruin your pottery.
But what about my thermocouple during a firing? Listen to CMW’s For Flux Sake podcast, episode 41: Should I trust my thermocouple during a firing?
Finding the Sweet Spot: It’s All About Balance
The ideal firing rate depends on several factors:
- Clay Type: Different clays have different firing requirements.
- Glazes: Some glazes need slower firing to mature properly.
- Desired Effects: Do you want a specific color or texture? Firing rate can influence the final result. (And your application technique)
Kiln Wisdom: Mastering the Firing Game
As ceramic artists, we need to be mindful of these factors and choose the firing rate that best suits our needs. (But cone 6 is superior – as said in CMW’s podcast: For Flux Sake, Episode 53: Cone six or bust!) It’s all about finding that sweet spot between energy efficiency and achieving the desired results.
Watch CMW’s YouTube, Cone-ception | using a pyrometric cone to create a ceramic glaze
So, next time you’re staring at those mysterious columns on the cone chart, remember that they hold valuable insights into the firing process. By understanding the different firing rates and their impact on your ceramics, you can unlock the full potential of your kiln and create pottery that truly shines!
Still Curious?
But wait… I still don’t understand! No worries! Watch CMW’s YouTube, Cone-ception | using a pyrometric cone to create a ceramic glaze
Next Step: Read CMW’s article, Ceramic Kiln Maintenance and Testing: Why Is It Important?
Ready to dive deeper?
Loved learning about ceramic glazes? Want to go even deeper? Check out our Workshops & Courses, now available in Spanish, or YouTube Channel where Matt breaks it all down, myth-busting and Stull chart included!


